Hacking cat printers for fun and... likes on twitter?

Allow me to introduce you to this…
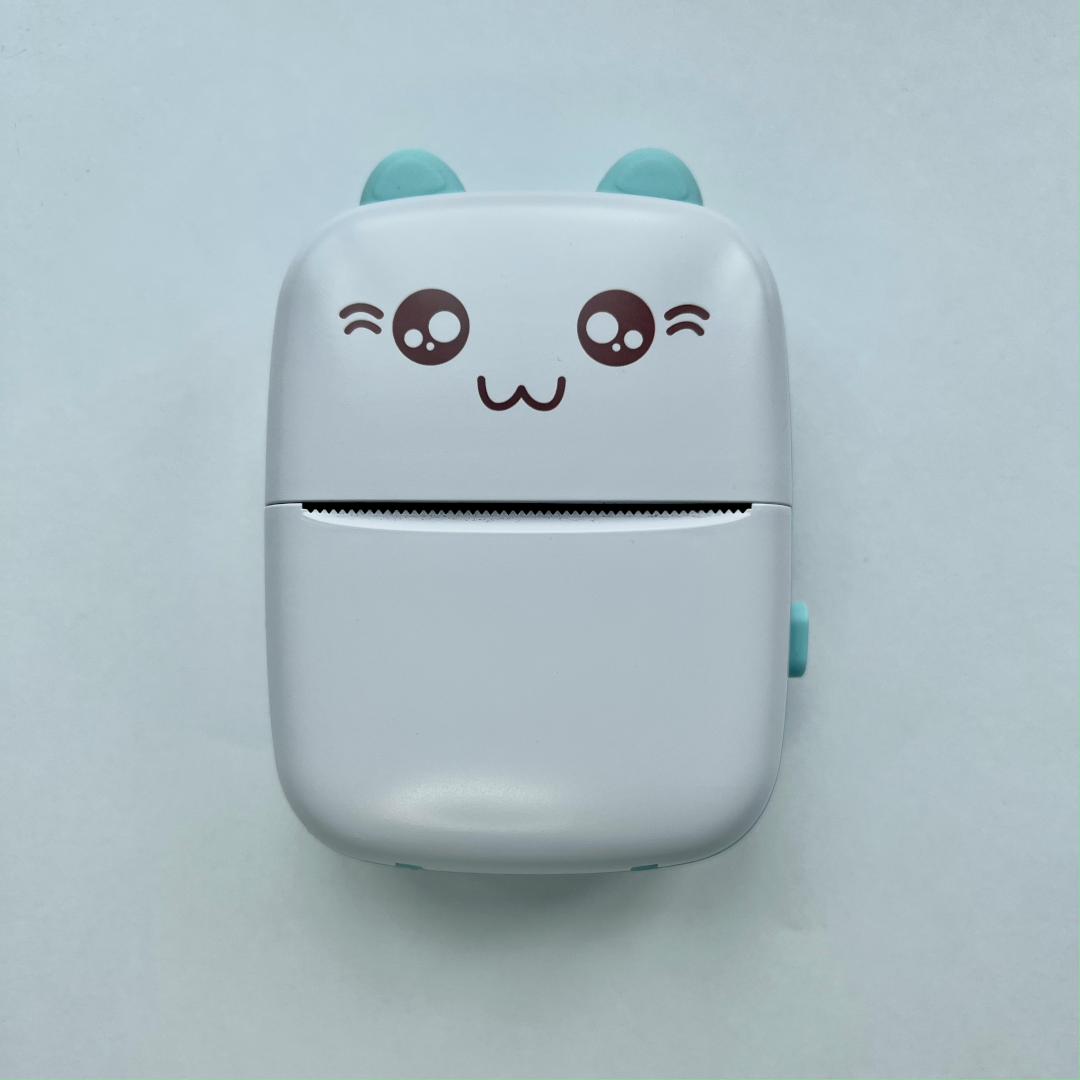
This amazing piece of technology is a cat printer. It is a small, battery powered, monochrome thermal printer that is able to be controlled over Bluetooth Low Energy.
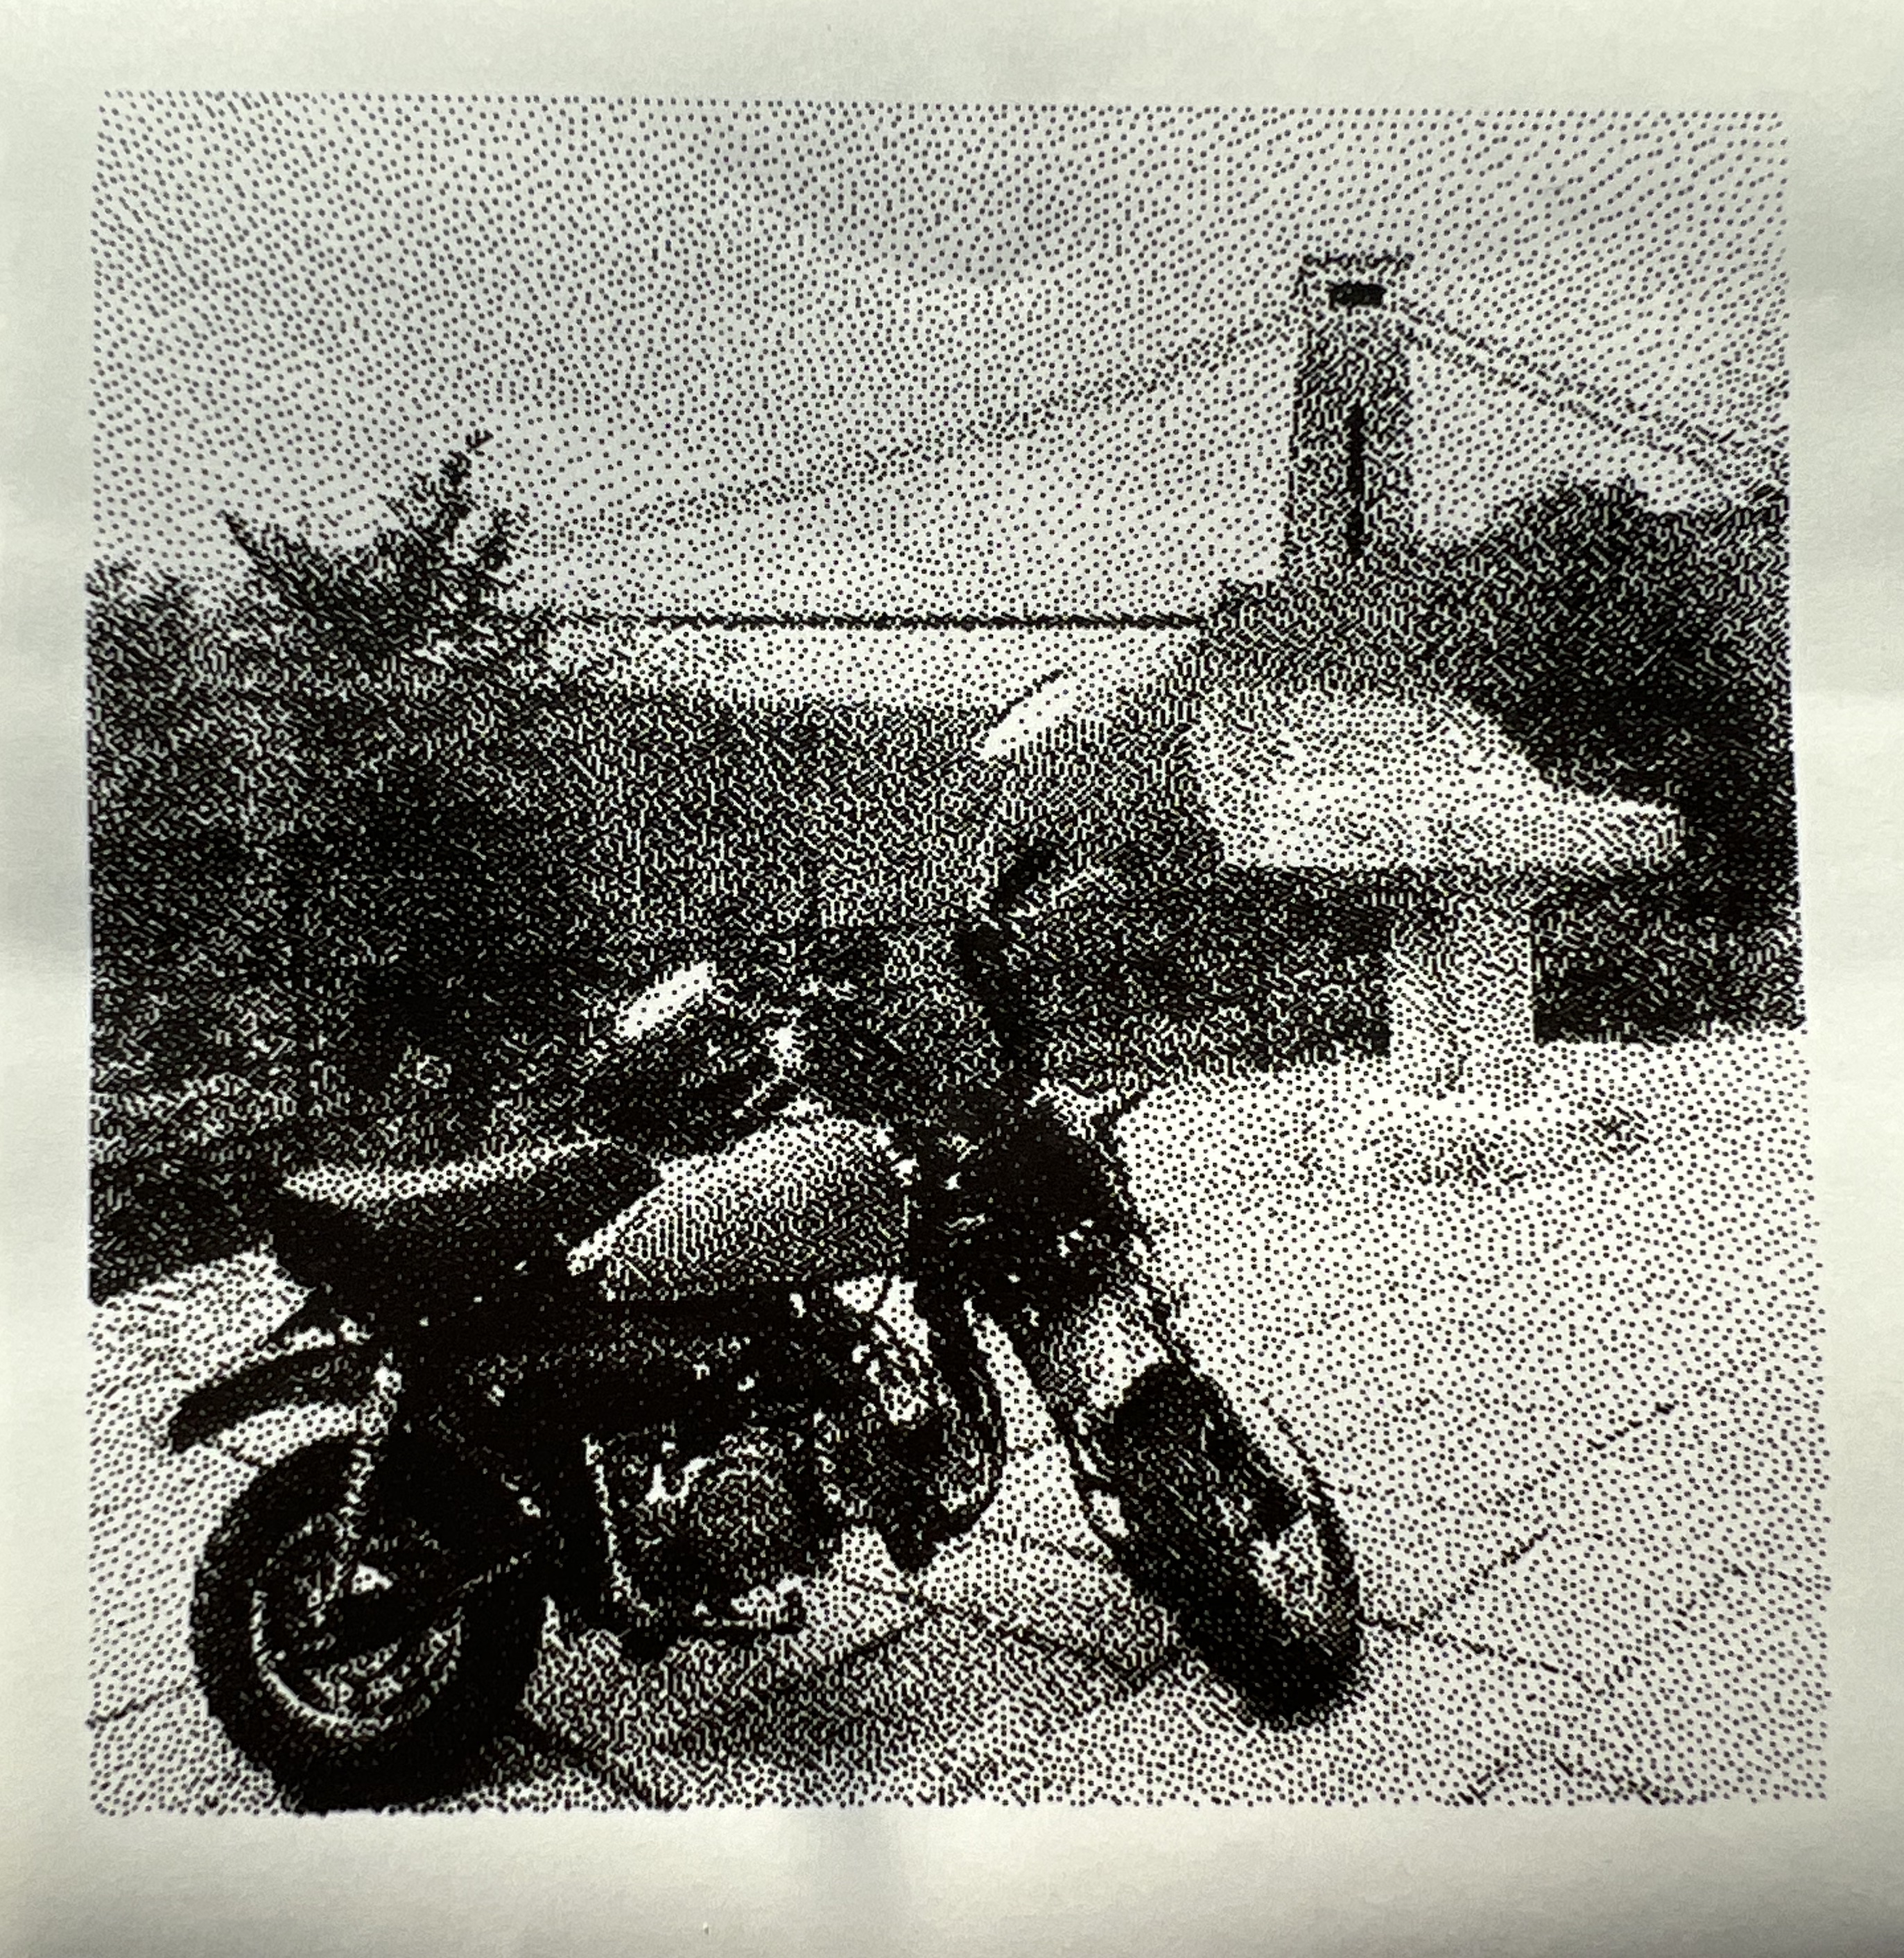
It’s designed to portable for use with your smartphone. With it, you can print your photos on the go, just like a polaroid! (but way worse)
Here is an example:
| Original Image | Cat Printer |
|---|---|
 |  |
Hold up, what? why?
Who wouldn’t want to print their photos in glorious 1 bit dithered monochrome?!
One of my favourite youtubers had covered similar ones, and I then saw one of my friends tweet about it. How could I say no to such a glorious device?
Objectively crappy output aside, the prints do have a certain aesthetic to them that I like.
But, truth be told, I bought the cat printer mostly because it seemed like a fun thing to play with. But, as it turns out, it was quite hackable.
…also its cute.
Oook, go on then…
These little printers are available on the usual online retailers, like Amazon and AliExpress for ~£30. There are also other, non animal based versions too.
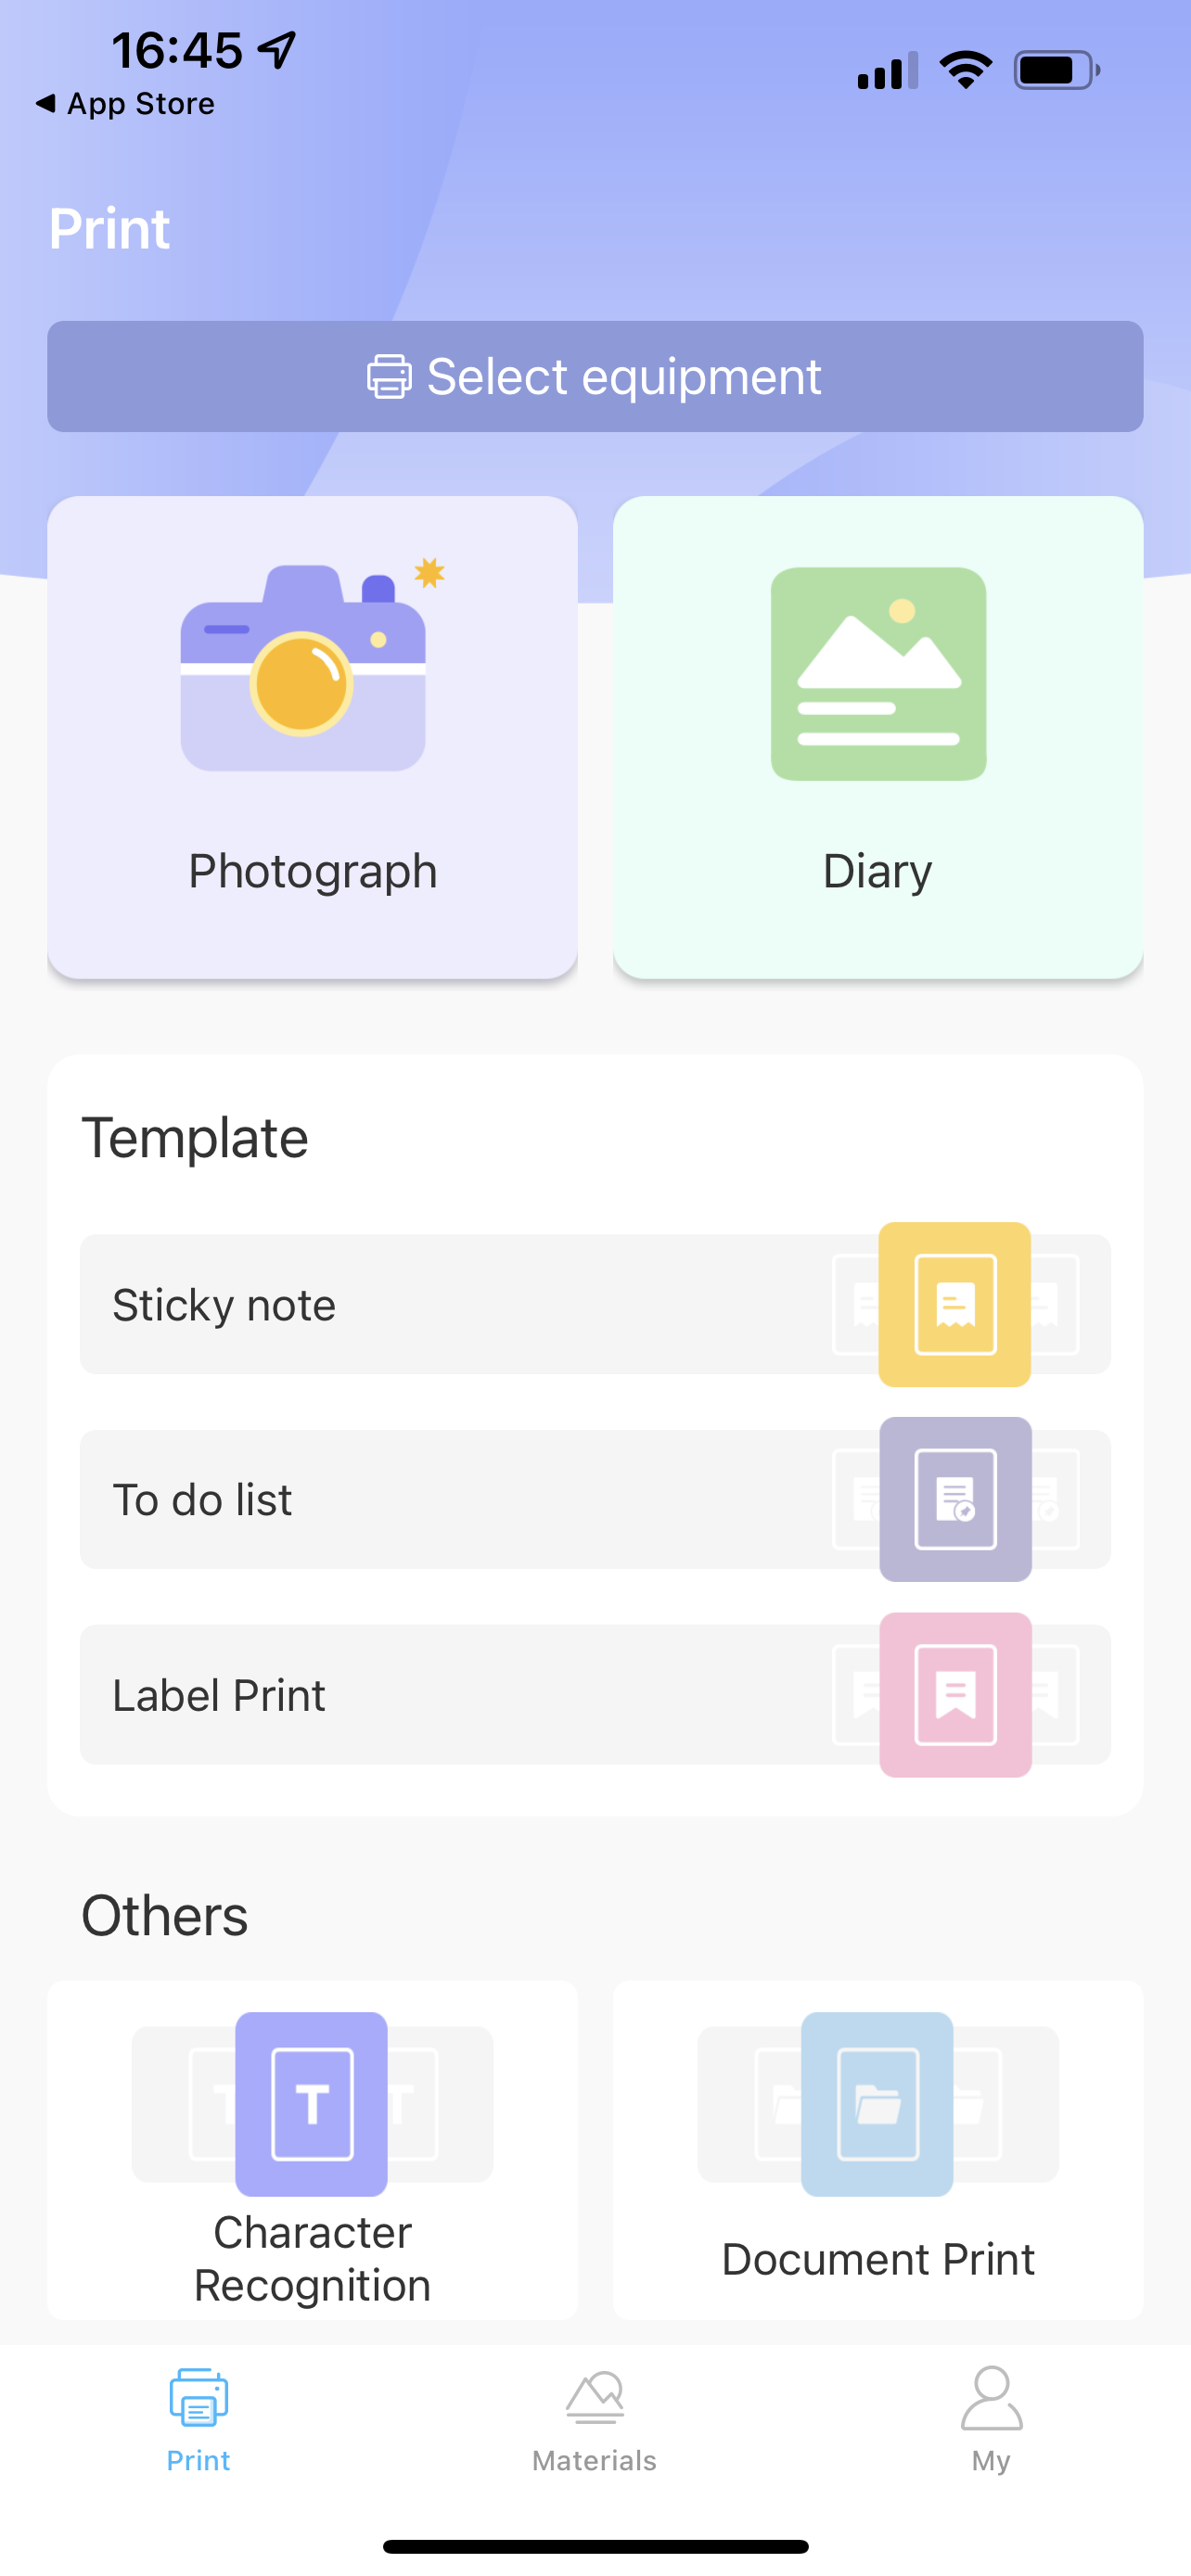
They are intended to be used with a mobile application called “iPrint” in order to print text or images.
But, what if you want to use your cat printer in another way? With your computer or some other device? Well, thanks to other hackers there are plenty of options out there;
There is a hackaday article here that covers both Arduino and macOS options by Larry Bank.
If CircutPython is more your jam, you can check out this tutorial on Adafruit here by Jeff Epler.
Or, if you’re more into regular python, or rust there is a good list of projects here.
But, like any hacker knows, the fact there is already a way to do something isn’t a good enough reason not to do it yourself! So that is what I did!
But first, let’s talk a little about the…
Hardware
The hardware is pretty well documented already, a good example is the writeup by WerWolv.
But, to give some context here is a quick overview;
It’s a thermal printer and uses 57mm paper, similar to what you’d find in card machines and the like. It can fit approx 40mm diameter rolls of paper.
The print resolution is 384px wide (203dpi), being a thermal printer, it can only print in monochrome (1bit / black and white)
The brains of the operation is a JL MCU that there is vanishingly little documentation for, and the printer communicates with other devices via Bluetooth Low Energy (BLE).
It’s powered by an internal lithium battery and is charged via micro-usb.
And the most important feature, it has little ears and a cute face.
So with that in mind, on to the…
Software
I decided to build my version of cat printer goodness in NodeJS, which I’ve called printkitty.js, imaginative, I know. You can check it out on GitHub here
I chose NodeJS mostly because it’s what I am comfortable with. This, as it turns out, may not have been the best decision… due to reasons I’ll get in to later.
The printer has no ‘pure’ text mode or inbuilt fonts. It simply prints everything as an image. So with that in mind, my initial goal was simply to be able to send images to the printer.
Bluetooth Low Energy
To do this, the first thing I needed was a BLE library. I settled on noble, as it seemed easy enough to work with, and there aren’t a lot of other choices for Node.
I then came across this repository from JJJollyjim that collects a bunch of cat printer projects, and then a document by bad_opcode that had nice and clear documentation of the protocol used.
Once I was able to connect to the printer with noble, I scanned for characteristics and found quite a few… AE01,AE02,AE03,AE04,AE05,AE10. with AE01 being write only, and AE10 being read/write, and AE02 and AE04 being for notifications.
I initially tried the AE10 read/write characteristic, but had no luck making the printer do anything. I then tried AE01 and wrote the bytes for a ’eject paper’, and much to my excitement, paper came out of the printer.
I then tried to get info, while listening to AE02 and I did indeed receive some data on that characteristic. With the knowledge that this was likely to work…
Let’s try and make it print something
I had read that the printer essentially took an array of bits to construct an image, 1 for black (e.g activate the printhead) and 0 for white. (e.g dont)
This is where my choice of NodeJS started to become less than ideal. JavaScript is not exactly the most low level language, and working with individual bits isn’t particularly ergonomic, compared to say C/C++ (which I am somewhat used to in playing with microcontrollers).
With that said, I was able to construct bit strings (e.g "11111111") and parse those in to integers (e.g 255 / 0xFF). That has proven to be good enough. So I ‘drew’ a square in bits, parsed it to bytes and constructed an array of with one Buffer for each like, and each buffer.
I sent the square to the printer, and it printed, but didn’t advance as it did so. So I threw a call to feed the paper by one step each iteration. I then had a square, but the sides of it were on the inside, so It looked more like an I. I then went back and re-read the document and realised I missed this very important bit under the print section… “with each byte packed with the least significant bit first.”
The easiest / laziest way to resolve this was simply to reverse the bit strings and then parse that into bytes. There is probably a better way to do this, bit it works well enough for now.
After doing that, I got my square! Now on to the next challenge, trying to print something meaningful (…and by that, I mean a picture of grumpy cat).
Parsing images in NodeJS
Turns out this was another sucky thing about using NodeJS, there aren’t a huge amount of image processing libraries. I settled on sharp and while it is very performant and easy to use, there aren’t a lot of options for producing pure monochrome images. I tried using its inbuilt dithering but always ended up with an image that was grey and white, not black and white.
I then came across noopkat’s floyd-steinberg package, that was able to produce the results I was after.
After pluming it and sharp together, I was able to produce dithered, monochrome images from a wide range of input image formats. There is definitely better ways to do this, so any suggestions are welcome!
Building a bitmap
Now that I had monochrome images, I needed to turn those into 1bpp bitmaps that the printer could understand. If you’ve ever worked with small monochrome displays and microcontrollers this should be sort familiar.
As said above, the format is 1 bit per pixel, with 0 for white and 1 for black, grouped in to bytes with the least significant bit first. As the print area is 348px wide, this means 48 bytes of data per line.
I learnt here, that if you provide less than 48 bytes per line, the printer will not automatically advance when given the next line.
The final data structure for my bitmap was an array of Buffer objects, with each one being 48 bytes. When initialised they are filled with 0’s so if the image is less than 348px wide, it will be padded with 0’s.
Now that I had all this, I was able to start..
Printing actual images
I started trying to feed data to the printer, following the same set of commands that existing code did;
- Set the quality, I’ve set it to ‘3’ and this seems to work fine
- Send the first magic ’lattice’ command
- Set the print ’energy’ to medium
- Set the drawing mode (it has a ’text’ mode, to spite not having a way to print text)
- Setting the feed speed to
0x23, as seems to be done in the other solutions - Sending the print data
- Feeding the paper for 120 steps
- Doing the last ’lattice’ command
This order of operations was discovered by during the reverse engineering of the “iPrint” app done by WerWolv.
However, each time I tried, I’d only get a few lines of the print out before it would stop. This is because I had neglected to put a delay between each line of the print data.
As others had discovered and documented, if you don’t do this, the printer will get overwhelmed and stop printing.
Herein lies yet another issue with JavaScript. There is no native delay() or sleep() functionality. Annoying as it is, it does makes sense when you understand the JS event loop.
However, for this purpose it is not difficult hack one in and allow the code to pause for 10ms between sending commands to the printer. This solved the the issue and I was finally able to print images successfully!
Now simply by running printkitty --image grumpy.png I was able to get this:
Printing images is cool and all, but…
What about text?
Because our little cat printer can only do images, if we want to print text we need to find a way to turn our text into an image!
This was where using sharp turned out to be a good decision. It is incredibly easy to build an SVG (as after all SVGs are markup very similar to HTML) that contains the text you want to print, and then turn that in to an image and print it in the same way as you do any other.
I found a very cool article from DigitalOcean about how to use sharp for more general image processing, but it was here I found the idea of simply constructing a SVG, turning it in to an image and processing it.
One thing to note here, is I skip the dithering process as the generated text is always going to be monochrome. The other fun part about doing it this way, is it makes it very easy to pass in font and font size choices for our printed text.
This code I’ve written to handle text is pretty rudimentary, and I’ve not yet added a way to scale the height of the image with the text, but I can fix that in later releases.
All of this culminated in being able to run printkitty --text "~nyaa" --font "Comic Sans MS" --size 100 and getting this:
So I can print images, and even text now, but to do so I need to run them through my app. What if I wanted to be able to just print from any application like you can with any other boring, non-cat printer?
Enter, IPP (Internet Printing Protocol)
IPP is a standard that has been around for some time, with the idea being that you can print documents over a network (or, like, the internet) to any printer without pesky things like drivers or software.
My boring, non-cat Samsung laser printer supports it, as do basically any modern network enabled printer. What I didn’t realise is how simple a protocol it is
I found this package from watson that implemented a basic IPP server in node and watched his accompanying talk on the protocol and how he did it. It also supports niceties like Bonjour/zeroconf making actually adding your cat printer to your system a snap.
The package listens for print jobs and then outputs them to your local filesystem as postscript files. This was great, but sadly sharp doesn’t support these.
I was again let down by NodeJS when I couldn’t find any native libraries to handle converting postscript to an image (e.g PNG) that I could easily process.
I did however find wrappers around ghostscript, which can perform this task. But this would mean a dependancy on gs being installed. I wanted to avoid this, but sadly I could not find any other viable options.
Ultimately, I decided to skip using a wrapper and simply call gs from within my code by using Node’s child_process package. This is a bit hack-y but it works well enough for this application.
So with all that in place, I was able to generate a PNG image, from the received postscript print data and pass that into my existing code.
All of this means, I could simply run printkitty --ipp and I was able to use my cat printer from any application!
There is still more to do, like generally improve the code and try and hack in AirPrint support, but that will have to wait for a future post.
Ok, so what was the point of all this?
Conclusion and thanks
Well… the point of this… was… just to do it.
To elaborate on that, it was to learn more about my little cat-faced, thermal printing, friend by experimenting on it.
In these experiments, along with learning about the hardware itself, I learnt more about Node and JavaScript in general. I also learnt a little about how IPP worked, something I’d used plenty but never really thought about. I also got a handful of likes and hopefully also made some smile on twitter.
The friend who inspired me to get one in the first place conducted her own set of cat printer experimentation, going even further by setting up things like a telegram bot and printing images from SSTV, which are worth checking out.
If you’ve got your own cat printer, or been inspired to get one by this post, please give printkitty.js a try, I’d love to hear your feedback… and if you go on to experiment yourself I’d absolutely love to see your car printer projects!
Finally, I’d like to say thanks to everyone who’s work I’ve referenced in this post, as what they’ve done has enabled my experimentation here.

